Published on · Simone Renzi
Design journal · November 2026
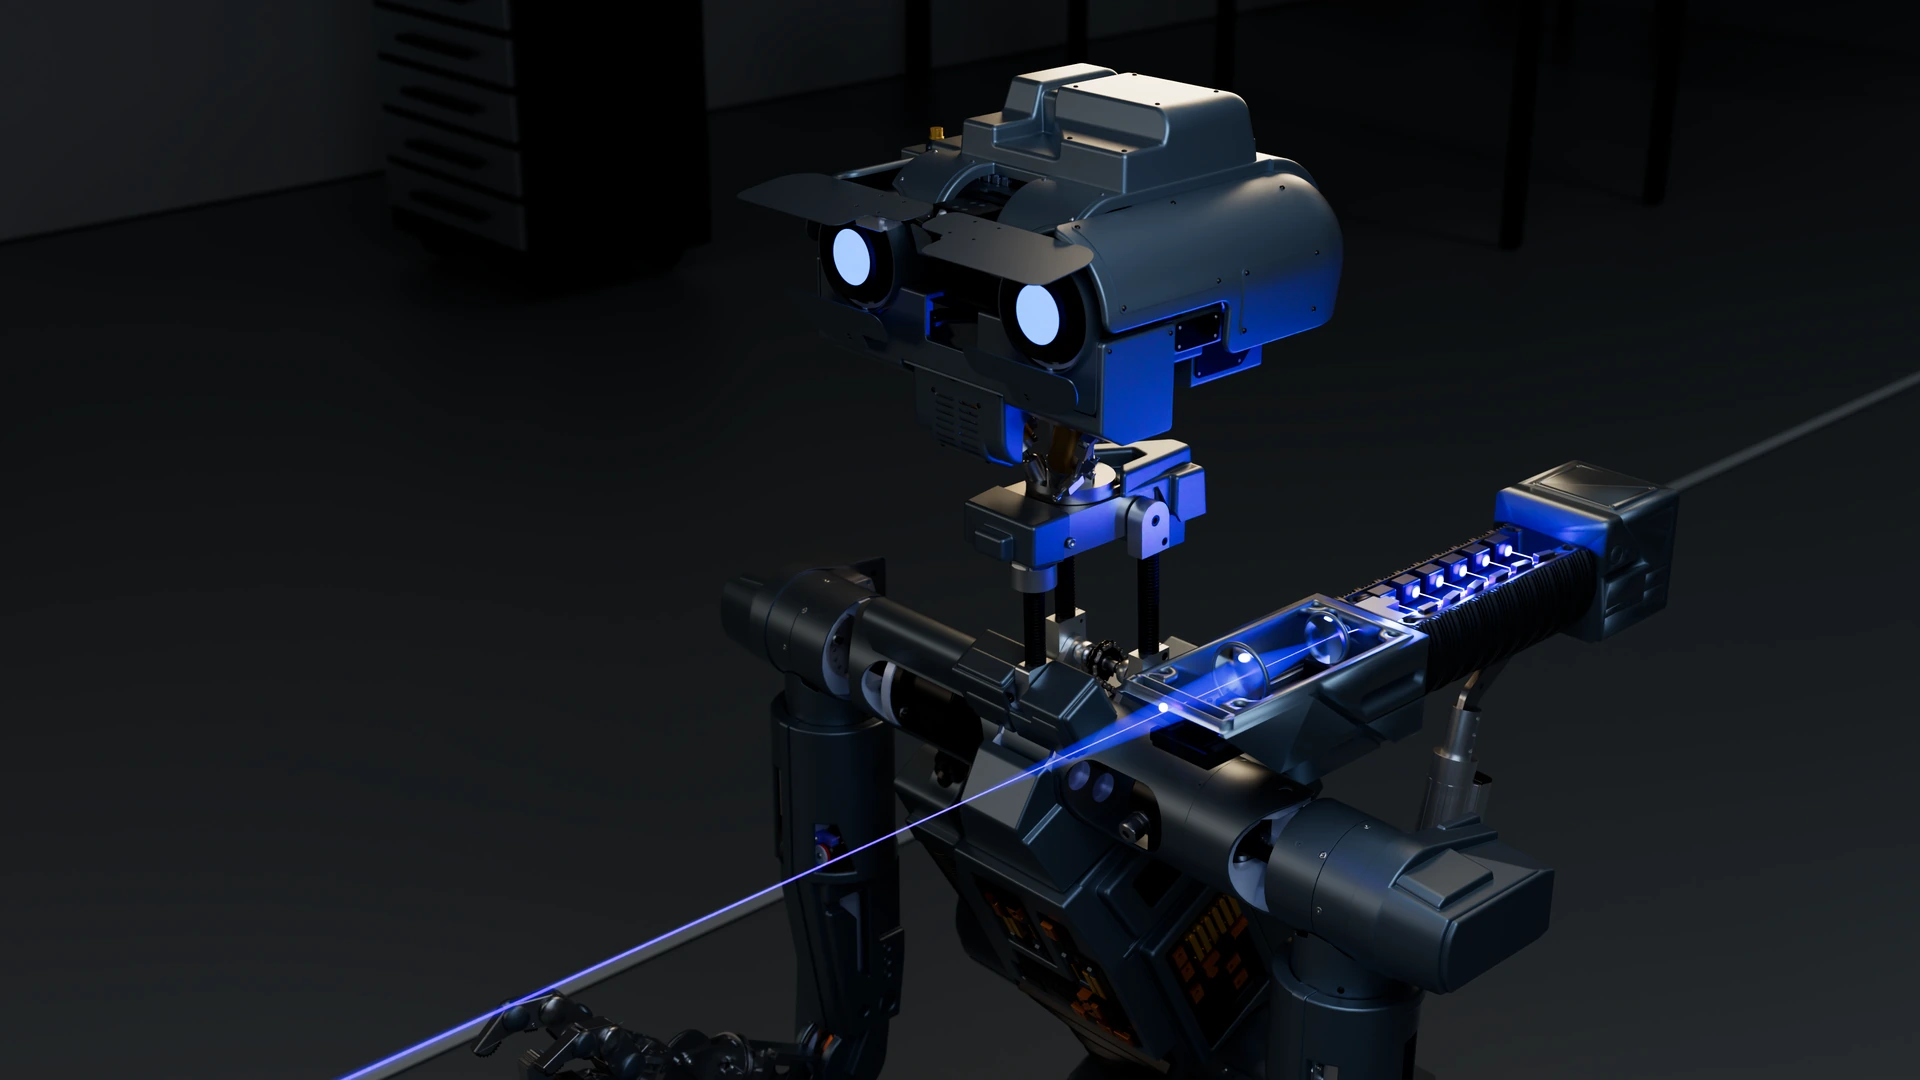
Work statusDigital model and Octane rendering completed for this view. Physical integration and the operating configuration remain to be implemented and verified.
01 / Laser compartment design
Part of the robot, not a separate object
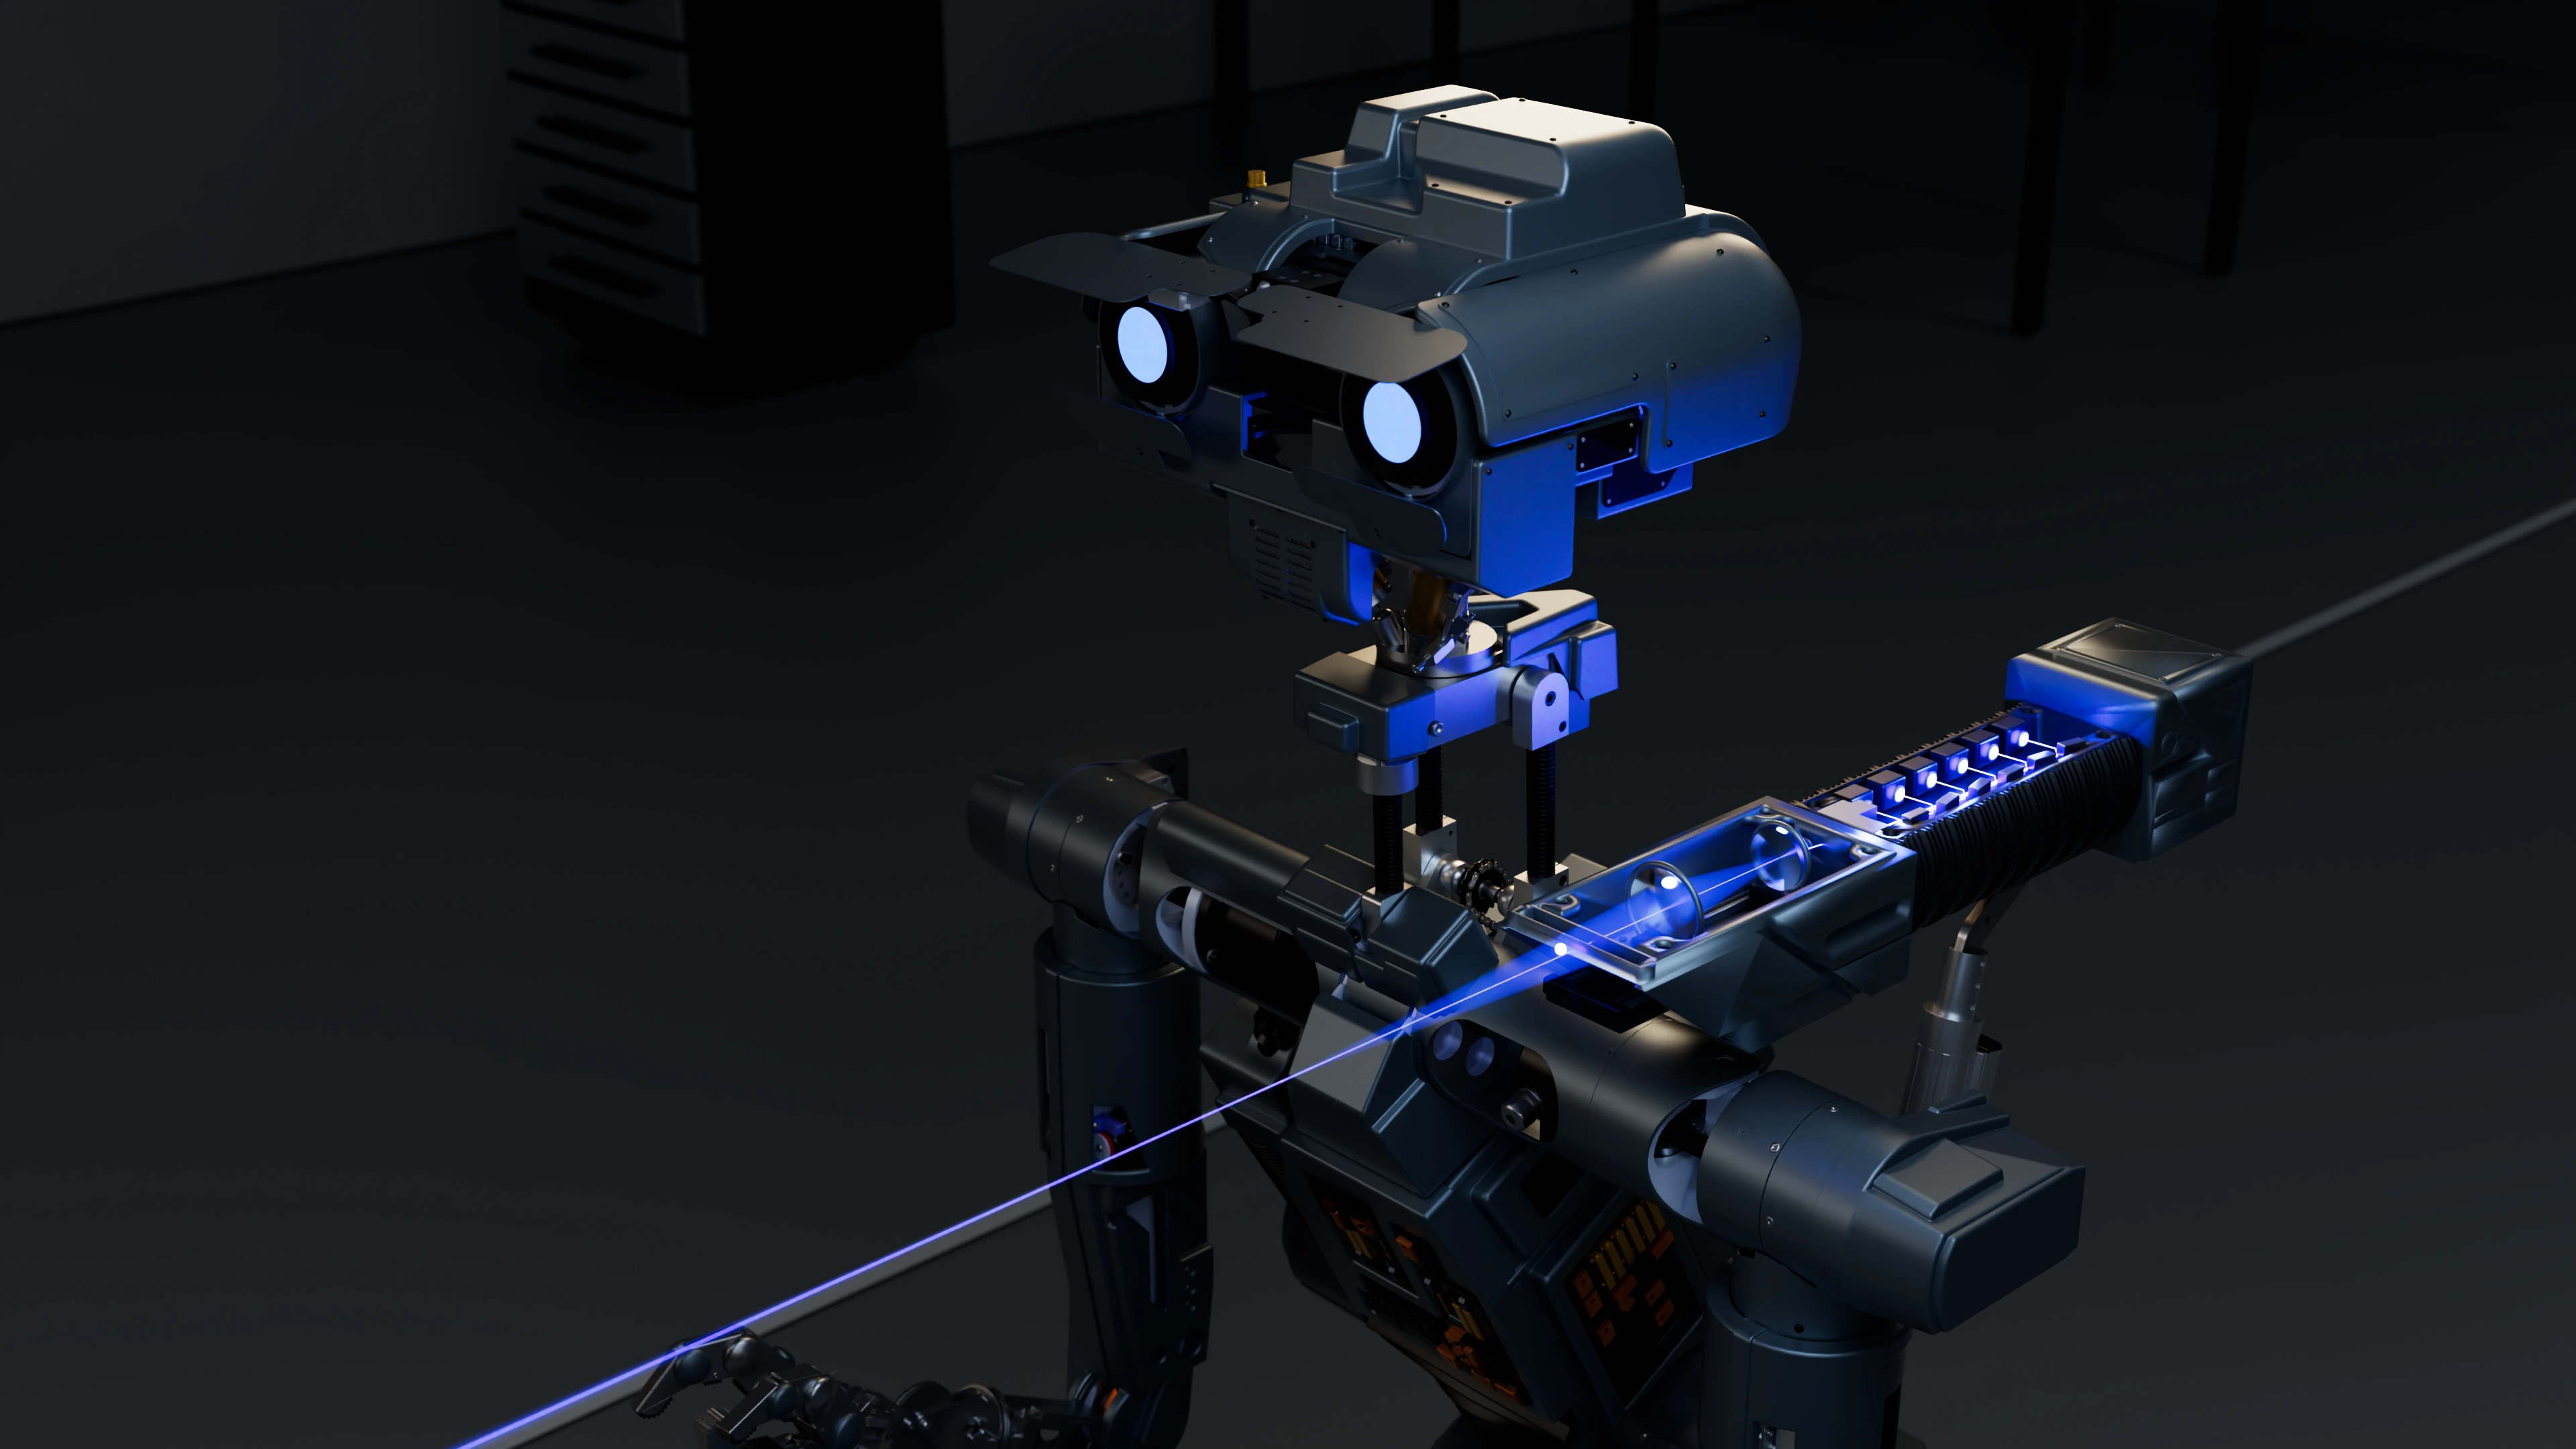
In my Numero 5 project, the laser compartment is one of the features that must remain recognisable from the film robot. My aim is to preserve its external character and show how a contemporary component could fit into the model I am developing. Choosing the module and shaping its enclosure are therefore parts of the same task.
OpenSAINT was an essential starting point. From that foundation, I modified or redesigned almost every robot component. This compartment belongs to that much broader redesign; it is not the sole alteration to the original assembly.
02 / Laser compartment design
Choosing blue
For this version, I selected a commercial blue diode module with a declared wavelength of 450 nm and a declared optical output of 60 W+. My work concerns its representation and planned integration into Numero 5’s compartment. I am not presenting a laser source built from scratch or a power measurement performed on the robot.
I wanted the image to show the compartment in its position on the robot, with the housing open and the front outlet clearly visible. The relationship between enclosure, interior and complete assembly is what I want to document in this journal.
03 / Laser compartment design
The planned configuration
Numero 5 will carry a blue laser module that will be disabled by default and used in a closed area for demonstration purposes only. By default, the robot will have an active blue laser emitter with a power of 1 mW. This is the configuration I have chosen as the project’s target.
In this journal, I distinguish that decision from its implementation: the digital model does not demonstrate that the two emitters, their operating modes or default deactivation have already been implemented and tested. I will document those steps when they have actually been completed.
04 / Laser compartment design
From model to cutaway
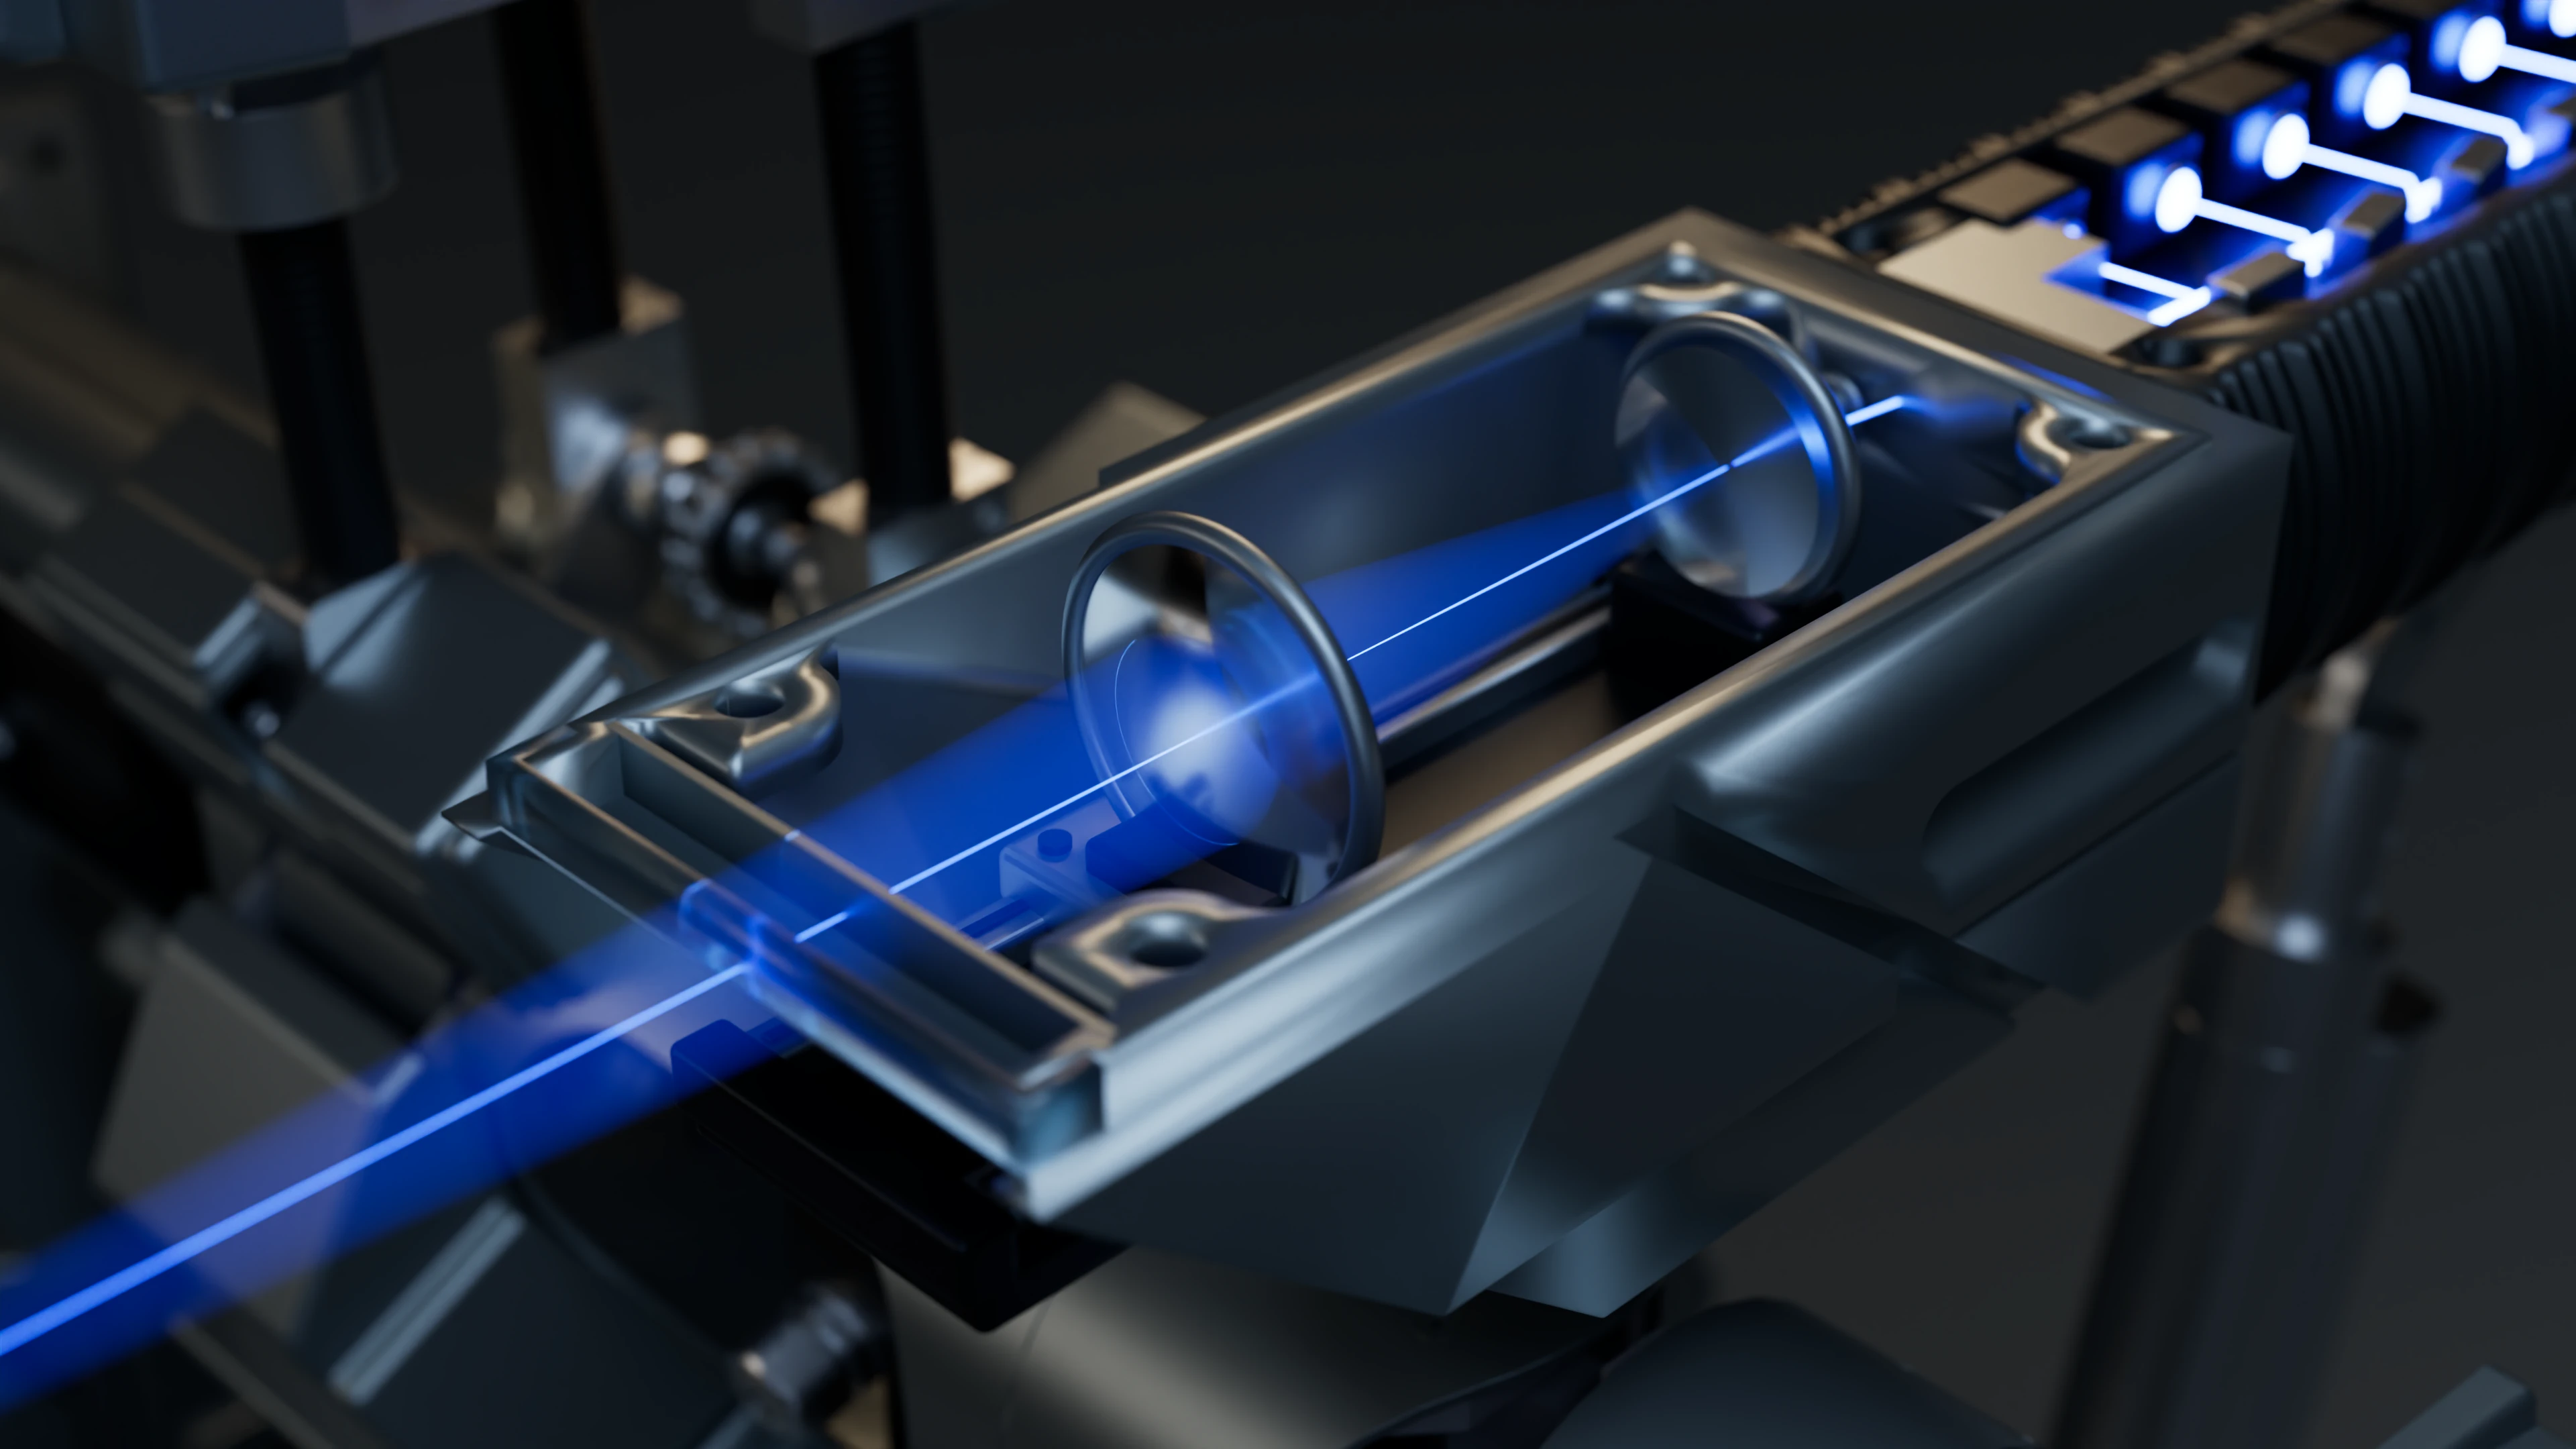
I revised the rendering several times to make the interior readable without losing the robot’s identity. The first representation was too simplified. In later revisions, I worked on the open housing, the visible details and the light path through to the front opening.
The latest image includes two lenses and a carriage on a guide. The blue beam is depicted to make the scene readable. The six light sources and optical path are illustrative elements: they do not document the commercial module’s interior and are not a validated optical design.
05 / Laser compartment design
Why I chose Octane for this image
I kept the scene dimly lit to emphasise reflections on the metal, the glass and the blue light. The geometry was prepared in Blender and the final rendering was produced in Octane X, with two views exported in 4K: a wider view of the compartment on the robot and an interior close-up.
These images help me communicate the project, but they remain renderings. The next journal update will cover the parts actually produced, their assembly and the available checks, without treating a convincing model image as a test of a physical component.
Documentation and references
For this account, I draw on project records, Fusion revisions and the checks described in the text. CAD views document their respective stages of development.